
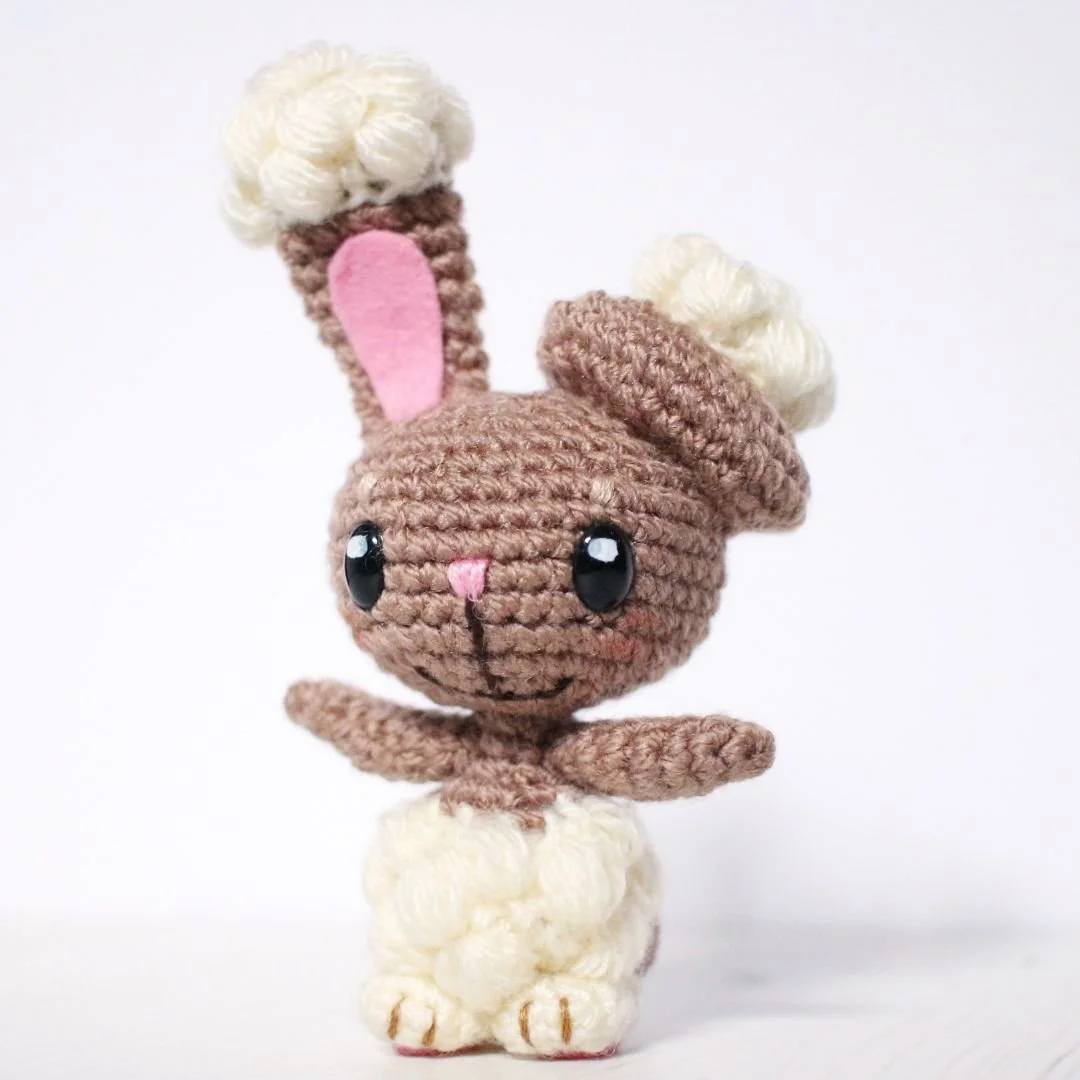
Buneary Amigurumi Pattern
I’ve been dreading typing up this pattern simply because I thought it would be difficult to explain. Turns out I was wrong. Or… maybe you should be the judge of that. But let me explain.
I’ve not seen any patterns using double crochet, and puff stitches in the way that I have used to create Buneary’s cream body and ears. Some stitches are placed in the front loops, and some in the back loops in order to place the puff stitches in front of the double crochet stitches to still ensure that it’s a solid piece and that theres’t any holes for the toy filling to peak thorugh. I don’t know if that makes any sense… But I think that once you get started and follow the pattern round by round you’ll understand what I mean.
I highly recommend that you read to the stitches and abbreviations section before you get started to familiarise yourself with all the different stitches and explanations I’ve used in this pattern. Most people (me included) tend to skip past all the ‘boring’ stuff and move straight to the pattern…
Another reason why it’s particularly important to not jump ahead is that you’ll find out which “crochet language” the pattern is written in. I prefer using UK English terms, which is very different to US English terms. Did you know that UK double crochet is exactly the same as US single crochet? This is the cause of much confusion. As you can imagine you will end up with an odd looking amigurumi if you misinterpret and US double crochet…
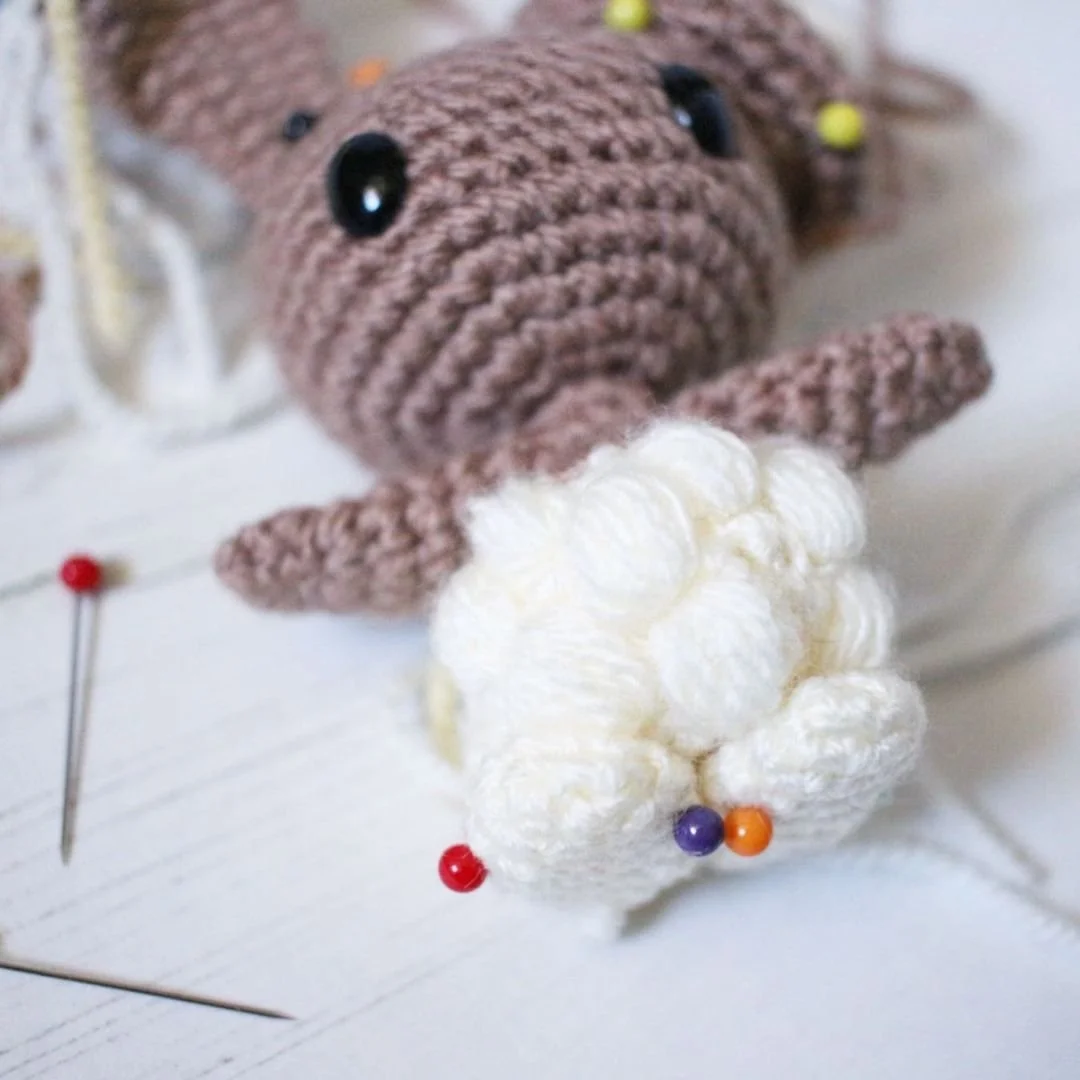
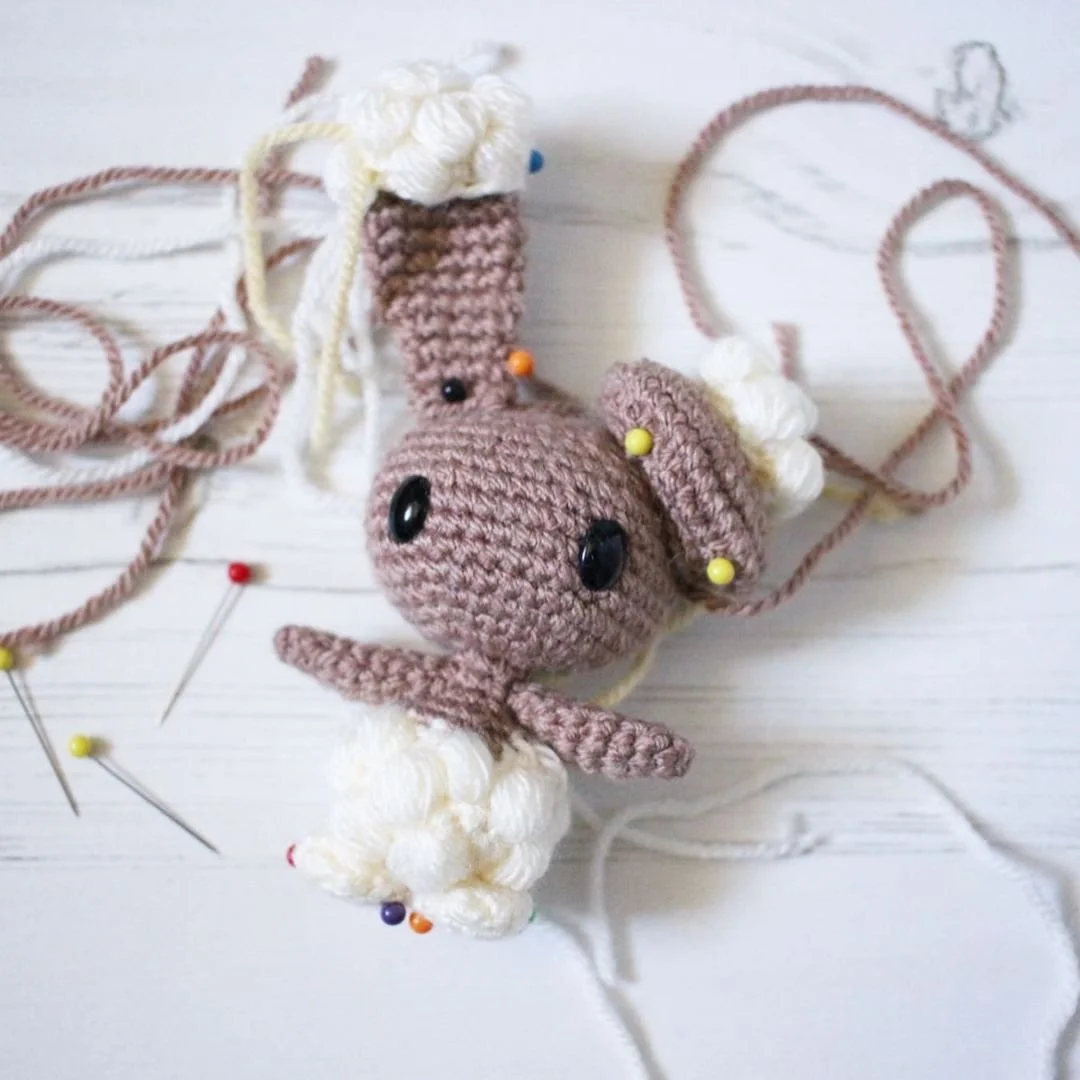
But enough about that - let’s talk a little bit more about Buneary instead. She is approximately 13cm tall, and 4.5cm in width (5.5-6cm if you include the ears), and approximately 4-4.5cm from front to back. Weight: 25grams (this includes all materials used to make Buneary). I would recommend assembling the amigurumi in the same order the pattern is written. I like to use a photo of Buneary as reference for best possible outcome. I either google a picture or take several screenshots from various angles in Pokemon Go. Pin all the pieces in place before sewing to make sure it looks right, including the felt pieces. Once all the crocheted pieces are attached use fabric glue to fix down the felt pieces and sew in the facial features.
Let’s get started! And remember…
The stitches and abbreviations section is your friend!
YARN & HOOK
2mm hook
Stylecraft Special DK in Cream and Mocha
10mm Black oval safety eyes
Pink felt
Pink, Cream, Dark Brown and Mocha embroidery floss
Toy filling
Pins to place pieces before sewing together
Darning needle
Stitch markers (I prefer using scrap yarn as “stitch markers”)
STITCHES & ABBREVIATIONS – UK ENGLISH
ch chain
dc double crochet
puff st puff stitch; y.o., insert hook, y.o., pull through 1 loop) x 5 all in the same st, y.o. and pull through all remaining loops (11) to secure. (tip: make sure the loops are approximately 1cm long to ensure the final look is nice and puffy)
small puff st puff stitch; y.o., insert hook, y.o., pull through 1 loop) x 3 all in the same st, y.o. and pull through all remaining loops (7) to secure.
bldc back loop double crochet; double crochet in the back loop only
fl front loop
3stdec 3stitch decrease; insert hook into the front loops of the next three sts, y.o. and pull through three loops, y.o. and pull through remaining two loops -> one dc placed into three sts
htr half treble
sl st slip stitch
st/sts stitch/es
inc dc 2 in one st
dec decrease; insert hook in the front loop of the next two sts, yarn over, pull through both loops, y.o. and pull through remaining two loops –> one dc placed into two sts
ws wrong side
rs right side
y.o. yarn over
THE PATTERN
BODY & HEAD
***Please refer to the the Stitches & Abbreviations section at the start of this post for instructions for bldc, fl, puff st, small puff st, and 3stdec description***
Yarn: Cream and Mocha
The body & head piece is worked from the bottom and up.
Start with Cream
Round 1: dc 6 in Magic Ring (6)
R2: inc in all sts around (12)
R3: (bldc, inc) x 6 (18)
R4: (dc, inc, dc) x 6 (24)
R5: (skip the first stitch, puff st in the unworked front loop of R2, dc in next st, bldc, dc) x 6 (24)
R6: dc 24
R7: (bldc, dc, puff st in the unworked front loop of R4, dc) x 6 (24)
R8: (small puff st in the unworked front loop of R6, 3stdec) x 6 (12)
Change to Mocha
R9-10: dc 12
Stuff the body
R11: (dc, dec) x 4 (8)
R12-13: dc 8
R14: in the front loops only inc x 8 (16)
R15: (dc, inc) x 8 (24)
R16: (dc 3, inc) x 6 (30)
R17: (dc 2, inc, dc 2) x 6 (36)
R18: dc 36
R19: (dc 5, inc) x 6 (42)
R20-21: dc 42
R22: (dc 5, dec) x 6 (36)
R23: dc 36
R24: (dc 4, dec) x 6 (30)
Place the oval safety eyes in R20, stitches number 6 and 15. Before we move on I just wanted to check in… Are you reading this somewhere other than www.loopycathrine.com? Did you pay for it? Then you have been dooped. This is a free pattern on the above mentioned website only. Please head over there and let me know where you found it, report the seller on the platform you purchased the pattern and claim your money back. Thank you!
R25: dc 30
R26: (dc 3, dec) x 6 (24)
Stuff the head
R27: (dc, dec) x 8 (16)
R28: (dc 2, dec) x 4 (12)
Fasten off. Fold the top in half so that you have 6 stitches on either side, whip stitch these two sides together making sure the eyes are parallel.
LONG EAR
Yarn: Mocha
Round 1: dc 5 in Magic Ring (5)
R2: inc in all sts around (10)
R3: (dc, inc) x 5 (15)
R4-5: dc 15
R6: (dc 3, dec) x 3 (12)
R7-8: dc 12
R9: (dc 2, dec) x 3 (9)
R10-12: dc 9
Fasten off and leave a long end to sew the ear onto head.
PUFF ST PIECE - LONG EAR
Yarn: Cream
Round 1: puff st, dc 6 in Magic Ring (6)
R2: inc in all sts around (12)
R3: (bldc, inc) x 6 (18)
R4: (puff st in unworked fl in previous round, dc, inc in bl) x 6 (24)
R5: (3stdec, skip next st, puff st in unworked fl in previous round) x 6 (12)
Sl st at the end of the round, and fasten off and leave a long end to sew puff piece to the top of the long ear.
PUFF PIECE & FLAT EAR
Yarn: Cream and Mocha
Start with Cream

Round 1: puff st, dc 6 in Magic Ring (6)
R2: inc in all sts around (12)
R3: (bldc, inc) x 6 (18)
R4: (puff st in unworked fl in previous round, dc 2) x 6 (18)
R5: (dc, dec) x 5 (12)
Change to Mocha
R6: inc x 12 (24)
R7: (dc 2, inc) x 8 (32)
R8-9: dc 32
R10: (dc 2, dec) x 8 (24)
R11: (dc 2, dec) x 6 (18)
Fasten off and leave a long end to sew the ear onto head. Stuff the ear before attaching.
ARMS
Yarn: Mocha
Make 2
Round 1: dc 4 in Magic Ring (4)
R2: (inc, dc) x 2 (6)
R3: dc 6
R4: inc x 2, dc 4 (8)
R5-6: dc 8
R7: dec, dc 6 (7)
R8: dec, dc 5 (6)
Fasten off and leave a long end to sew the arms onto body.
FEET
Yarn: Cream
ch 3 - we will be working around the chains to create an oval shape:
Round 1: dc in second ch from hook, inc in next st, dc on the other side of the same ch, inc in last ch (6)
R2: (inc, inc, dc) x 2 (10)
R3-7: dc 10
Fasten off. Weave in loose end by inserting darning needle in the front loop of each st and pull tight to close the hole.
TAIL
Yarn: Mocha
Round 1: dc 5 in Magic Ring (5)
R2: inc in all sts around (10)
R3-4: dc 10
Fasten off and leave a long end to sew the tail onto body.

FELT & FACIAL FEATURES
Cut out one oval shape piece of pink felt for the ears. And two smaller oval pieces to create the pads under the feet.
Use cream embroidery floss to create the eyebrows, pink embroidery floss for the nose, dark brown embroidery floss for the smile and line that goes from the nose to mouth, and mocha embroidery floss to create the lines between the toes. I’ve also used a white Pucca marker to create the reflection in the eyes.
THANK YOU & ENJOY!
Please do not reprint, sell or claim the pattern as your own.
I’ve loved creating this pattern so please don’t forget to credit the pattern designer.
I would love to see your creations! Please remember to tag me in your social media posts and use the following hashtag #loopycathrineamigurumi
For any questions about the pattern, please comment below and I will do my best to help.