
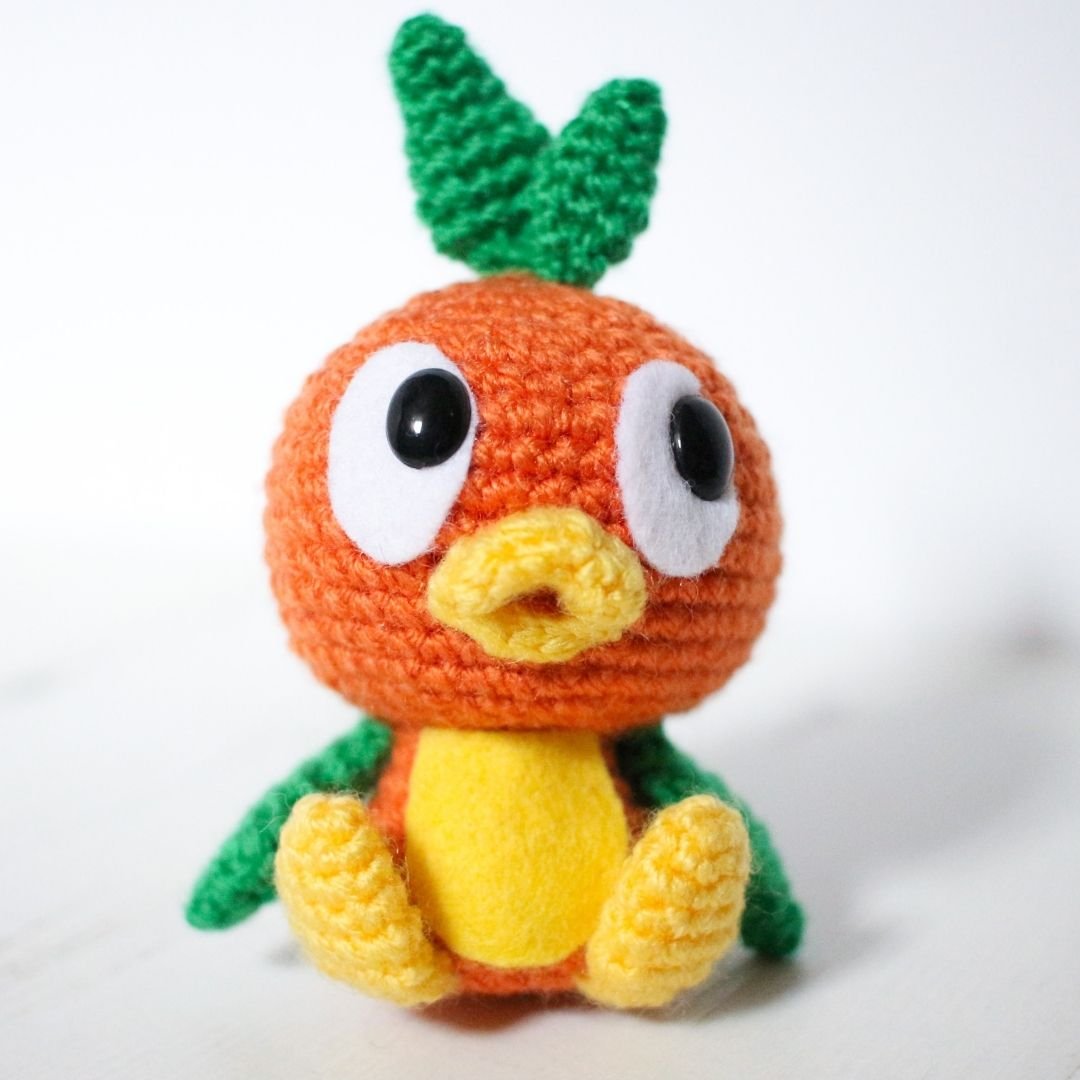
Orange Bird Amigurumi Pattern
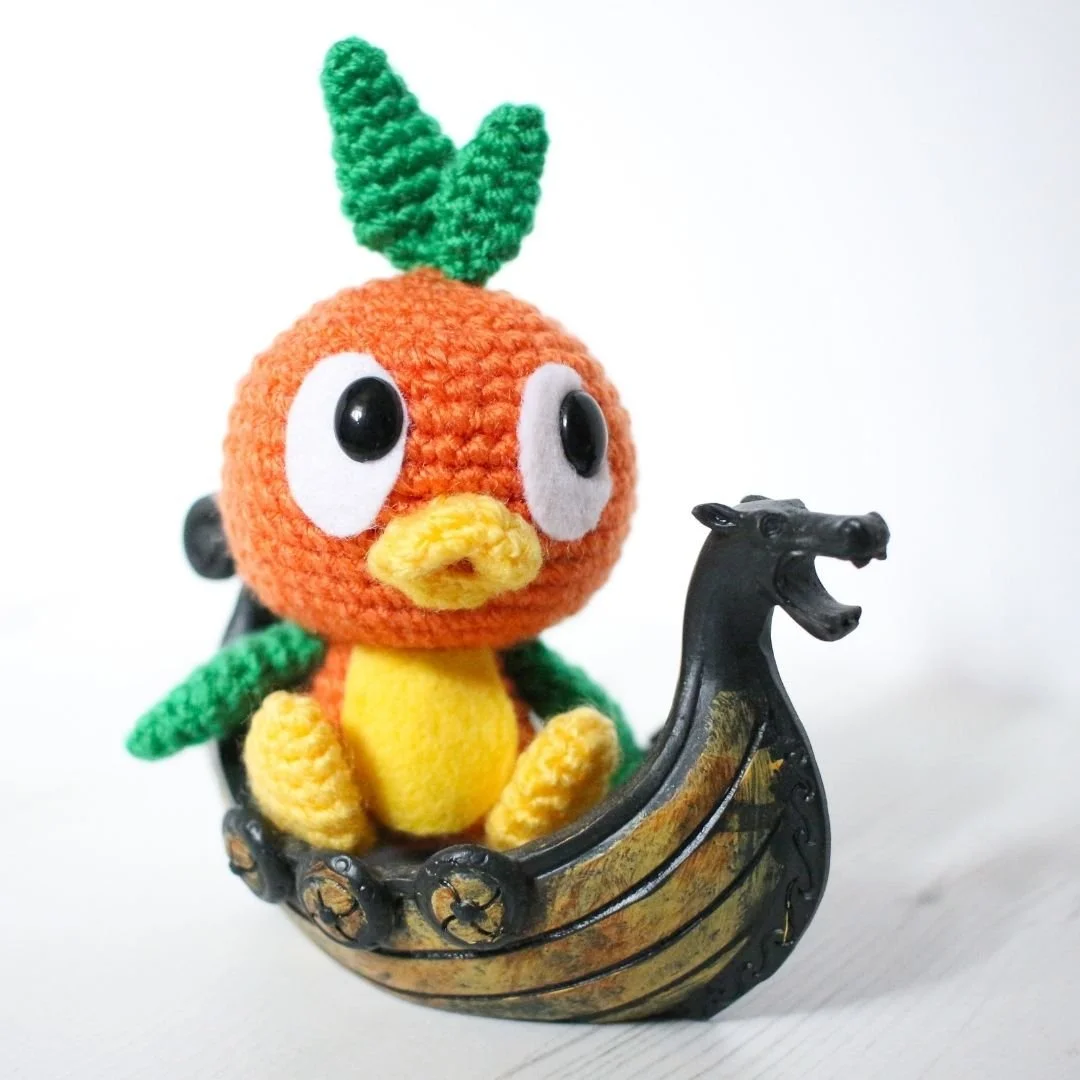
One thing you may not know about me is that I’m a little bit obsessed with Walt Disney World. So naturally I had to make an Orange bird. The plan was to make one and bring it with me on my most recent trip to the Orlando. Whilst orange bird did come with me to the parks most days, I completely forgot to take a picture in front of Cinderella’s castle and Spaceship Earth… But next time!
My Orange Bird amigurumi pattern is a very beginner friendly pattern. The head and body are made in one piece. I’m not a fan of hand sewing so making these two pieces together just makes sense, don’t you think?
Orange Bird is approximately 7cm tall, 10cm when you include the leaves on its head, 6.5cm in width from arm to arm. Weight is 25grams (this includes all materials used to make it)
As always, if you have any questions about the pattern, please enter them in the comments and I will do my best to answer. I would love to see your creations! Please remember to tag me in your social media posts and use the following hashtag #loopycathrineamigurumi
Let’s get started!
YARN & HOOK
2mm hook
Stylecraft Special DK in Spice, Kelly Green and Citron
10mm black oval safety eyes
Yellow and White felt
Polyester toy filling
Pins to place pieces before sewing together
Darning needle
Stitch markers (I prefer using scrap yarn as “stitch markers”)
STITCHES & ABBREVIATIONS – UK ENGLISH
ch chain
dc double crochet
inc increase; dc 2 in one st
dec decrease; insert hook in the front loop of the next two sts, yarn over, pull through both loops, y.o. and pull through remaining two loops –> one dc placed into two sts
ASSEMBLY
I would recommend pinning all the pieces in place before sewing to make sure it looks right, including the felt piece. Once all the crocheted pieces are attached use fabric glue to attach the felt pieces.
THE PATTERN
HEAD & BODY
Yarn: Spice
Head and body are worked top down in one piece:
Round 1: dc 6 in Magic Ring (6)
R2: inc in all sts around (12)
R3: (dc, inc) x 6 (18)
R4: (dc, inc, dc) x 6 (24)
R5: dc 24
R6: (dc 3, inc) x 6 (30)
R7: (dc 2, inc, dc 2) x 6 (36)
R8: dc 36
R9: (dc 5, inc) x 6 (42)
R10-14: dc 42
15: (dc 5, dec) x 6 (36)
16: dc 36
17: (dc 2, dec, dc 2) x 6 (30)
R18: (dc 3, dec) x 6 (24)
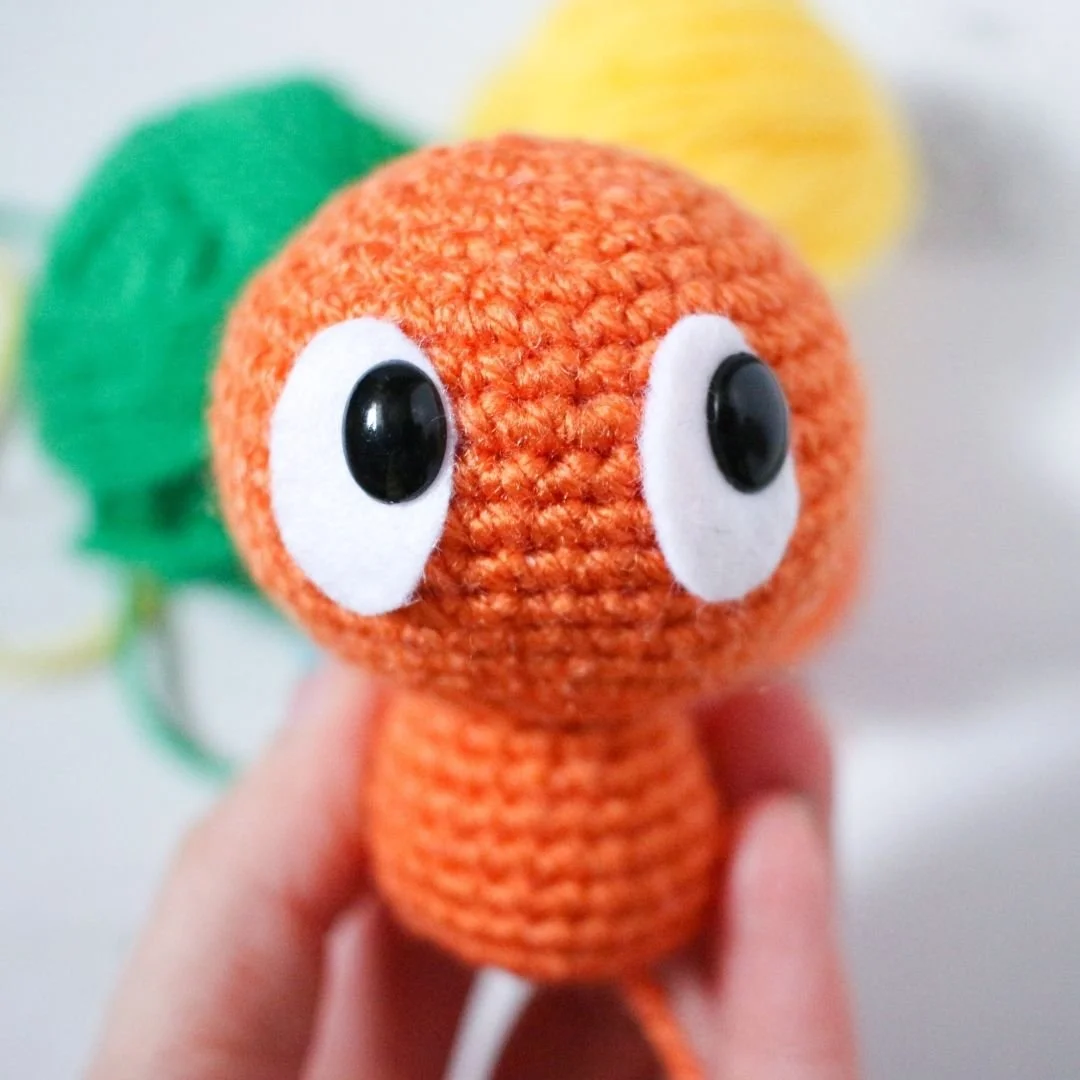
It’s time to prep the eyes. First, cut out two oval pieces of white felt. They should be bigger than the safety eyes that you have. I’ve cut out a very small hole in the top right corner of each felt piece and placed the eyes here. Before you cut into the felt I would recommend placing the eyes on top of the felt and make sure you like the placement of where the eyes will go.
Your safety eye & felt combo is now ready to be attached. The eyes should be placed in round 9, the first eye should be placed in stitch number 17, and the second eye in stitch number 24.
I would recommend holding off on gluing the felt down for now and leave that until the very end as a final touch.
You can start stuffing at this point.
R19: (dc 2, dec) x 6 (18)
Without cutting the yarn we’re going to continue onto the body:
R20: in the front loops only, dc 18
R21: dc 18
R22: (dc, inc, dc) x 6 (24)
R23-24: dc 24
R25: (dc 3, inc) x 6 (30)
R26: dc 30
R27: (dc, dec) x 10 (20)
Stuff the body before the last two rounds. Before we move on I just wanted to check in… Are you reading this somewhere other than www.loopycathrine.com? Did you pay for it? Then you have been dooped. This is a free pattern on the above mentioned website only. Please head over there and let me know where you found it, report the seller on the platform you purchased the pattern and claim your money back. Thank you!
R28: dec x 10 (10)
R29: dec x 5 (5)
Fasten off. Weave in loose end by inserting darning needle in the front loop of each st and pull tight to close the hole.
BEAK
The beak is created in two parts: the top beak and the bottom beak, and sewn onto Orange Bird’s face separately.
TOP BEAK
ch 4 - we will be working around the chains to create an oval shape:
Round 1: inc in the second ch from hook, inc in the next ch, and inc in the last ch. Continue on the other side of the row of chains: dc in each of the three loops (9)
R2: inc in each of the first six sts and fasten off, and leave the remaining three sts unworked.
Fold it is half, and use the tail at the start of the work to weave the bottom three sts to the top three middle sts. Create an upside down U shape when pinning to Orange Bird’s face.
BOTTOM BEAK
ch 4, sl st in the second ch from hook, and sl st in the remaining two chs. Fasten off and pin underneath the top beak.
Tweak the positioning of the two pieces to mimic a beak, and once you’re happy with the look attach the pieces to the face.
FEET
Yarn: Citron
Make 2
Starting at the toes:
Round 1: dc 4 in Magic Ring (4)
R2: (inc, dc) x 2 (6)
R3: (inc, dc 2) x 6 (8)
R4: dc 8
R5: (inc, dc 3) x 2 (10)
R6: (dec x 2, dc) x 2 (6)
R7: dc 6
Fasten off, and flatten the back of the heal and whip stitch the sides together. Leave the long end to attach to the body.
LEAF ARMS
Yarn: Kelly Green
Make 2
Round 1: dc 4 in Magic Ring (4)
R2: inc, dc 3 (5)
R3: inc, dc 4 (6)
R4: (inc, dc) x 3 (9)
R5-7: dc 9
R8: (dec, dc) x 3 (6)
R9: dc 6
Fasten of and leave a long end to sew the piece onto body.
LEAFY FEATHERS ON HEAD
Yarn: Kelly Green
Make 1 big, and 1 small
BIG LEAF
Round 1: dc 4 in Magic Ring (4)
R2: inc, dc 3 (5)
R3: inc, dc 4 (6)
R4: (inc, dc 2) x 2 (8)
R5: dc 8
R6: (inc, dc 3) x 2 (10)
R7-8: dc 10
R9: dec x 5 (5)
Fasten of and leave a long end to sew the pieces onto the head.
SMALL LEAF
Round 1: dc 4 in Magic Ring (4)
R2: inc, dc 3 (5)
R3: inc, dc 4 (6)
R4: (inc, dc 2) x 2 (8)
R5-6: dc 8
R7: dec x 4 (4)
Fasten of and leave a long end to sew the pieces onto the head.
LEAFY TAIL
Yarn: Kelly Green
Make 2
Round 1: dc 4 in Magic Ring (4)
R2: inc, dc 3 (5)
R3: inc, dc 4 (6)
R4: (inc, dc 2) x 2 (8)
R5: dc 8
R6: (dec, dc 2) x 2 (6)
Fasten of and leave a long end to sew the piece onto body.
FELT PIECE
Once all the crochet pieces are attached it’s time to glue down the felt attached to the safety eyes.
Cut out a half oval piece in yellow and glue onto the belly.
THANK YOU & ENJOY!
Please do not reprint, sell or claim the pattern as your own.
I’ve loved creating this pattern so please don’t forget to credit the pattern designer.
I would love to see your creations! Please remember to tag me in your social media posts and use the following hashtag #loopycathrineamigurumi
For any questions about the pattern, please comment below and I will do my best to help.